

Nested Filters are a powerful feature for refining data by placing one filter inside another. By adding additional levels to the filter hierarchy, you can create complex, layered filters. Follow these steps to build a Nested Filter:
Steps to Create a Nested Filter
1. Start with a Basic Filter
- Create a normal filter using “All of the following” conditions.

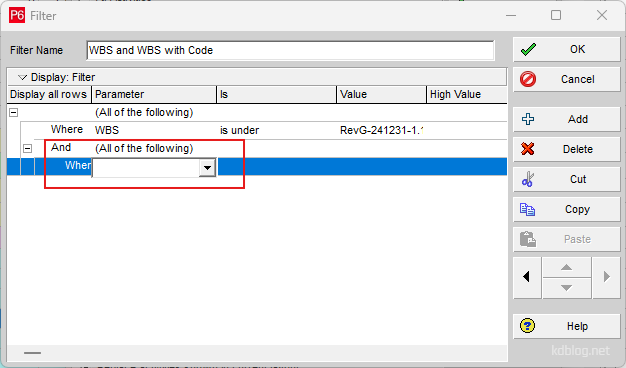
2. Add a Nested Condition
- Click “Add” and select “All of the following” condition again next to “And” to insert one filter inside another.
- Add another row and this new row will automatically indent, creating a Level 2 filter.
3. Adjust Filter Levels
- Use the directional arrows in the lower-right corner to move rows up or down the item as needed.

4. Combine “And” & “Or” Logic
- Add another row and select “Any of the following” condition. This allows you to combine “And” and “Or” logic within the same filter.

Summary
Primavera P6 allows users to combine “And” and “Or” logic within a single, nested filter. This article outlined a simple, step-by-step process to create such filters. By understanding how to structure and adjust filter levels, users can overcome common challenges and build a wide range of customized filters in P6.

Leave a comment